React Ecosystem - Server side rendering with Next.js
In the previous post, we created a BlogPost application with React and Redux and managed global state with Redux. We will extend the same application and will introduce Next.js for server-side rendering. The bigger benefit of using Next.js is pre-rendering of the page along with automatic code-splitting, static site export, CSS-in-JS.
1. Next.js functions
Next.js exposes three functions for data fetching and these are getStaticProps, getStaticPaths and getServerSideProps. First two functions are used for Static generation and the last function getServerSideProps is used for Server-side rendering. Static generation means the HTML is generated at the build(project build) time whereas in Server-side rendering HTML is generated at each request.
2. Adding required libraries
Run npm i --save next @types/next from root of the project to add the required libraries for this example.
Update following commands under scripts in package.json.
{
    "scripts": {
        "dev": "next dev",
        "start": "next start",
        "build": "next build"
    }
}
Next.js is built around the concept of pages. A page is nothing but a React component exported in pages directory. For example; pages/welcome.tsx will be mapped to /welcome. You also have an option to have Dynamic routes.
3. Basic setup
Let's start with creating _document.tsx and _app.tsx under src/pages directory. In _document.tsx, you defines your skeleton structure of your html page generated by Next.js. You usually do this to add meta tags or loading scripts or styles from CDN. Consider _app.tsx as the root component of your React application. In our example, we provide redux store to the Provider in this component.
// _document.tsx


import React from 'react';
import Document, { Html, Head, Main, NextScript } from 'next/document'

export default class MyDocument extends Document {
  render() {
    return (
    <Html lang="en">
      <Head>
        <meta content='https://www.codefoundry.dev/' property='og:url'/>
        <meta content='Tutorials for Java, Java 8, Spring, Spring Cloud, Spring Boot, React JS, Redux, Next.JS' property='og:description'/>
        <meta content='Gaurav Rai Mazra' name='Author'/>
        <meta content='https://www.codefoundry.dev/' property='og:url'/>
        <meta content='https://www.codefoundry.dev/favicon.ico' property='og:image'/>
      </Head>
      <body>
        <Main />
        <NextScript />
      </body>
    </Html>
    )
  }
}
// _app.tsx
import React from 'react';
import { AppProps } from 'next/app';
import { Provider } from 'react-redux';
import { store } from '../redux/store';
function MyApp({ Component, pageProps }: AppProps) {
return (
<React.StrictMode>
<Provider store={store}>
<Component {...pageProps} />
</Provider>
</React.StrictMode>
)
}
export default MyApp;4. Creating first page
Let's create our first page index.tsx under src/pages directory.
/* Line 1 */
interface IServerProps {
  bloggerPosts: {
    allTags: string[]
    posts: IBlogPost[]
  }
}

export default (props: IServerProps) => {
  /* Line 2 */ const dispatch = useDispatch();
  useEffect(() => {
    /* Line 3 */ dispatch(setPostsAsync(props.bloggerPosts));
  }, [dispatch, props.bloggerPosts])
  return (<App />)
}

/* Line 4 */ export const getServerSideProps: GetServerSideProps = async(context: GetServerSidePropsContext<any>) => {
  /* Line 5 */const bloggerPosts = await BloggerService.getAllPosts();
  return {
    props: {
      bloggerPosts
    }
  }
}
Explanation
At Line 1, we have defined type of prop field of this functional component.
At line 2, We are using
useDispatchhook from redux to get reference of dispatch function.Inside
useEffecthook, at line 3, we are dispatching the bloggerPosts that were computed on server-side by Next.js(Line 4).At Line 4, we are defining
getServerSidePropsfunction which gets executed on every request by Next.js on the server-side and the result is passed onto this functional component.At Line 5, we are calling
BloggerService's getAllPosts function which is retrieving the posts from blogger(http://codefoundry.dev)'s feed. Let's create this service(BloggerService.ts) as well under src/service.
/* Line 1 */ declare type BloggerEntry = {
  id: {
    $t: string
  },
  updated: {
    $t: string
  },
  published: {
    $t: string
  },
  category: Array<{scheme: string, term: string}>,
  title: {
    $t: string
  },
  summary: {
    $t: string
  },
  author: Array<{name: { $t: string }}>,
  link: Array<{ rel: string, href: string }>
}

const getAllPosts = async() => {
  /* Line 2 */ const response = await fetch('https://www.blogger.com/feeds/5554118637855932326/posts/summary?alt=json&start-index=1&max-results=100')
  const result = await response.json();
  const categories = result?.feed?.category ?? [];
  const allTags = (categories as Array<{term: string}>).map(category => category.term)
  const entries = result?.feed?.entry ?? [];
  const posts = (entries as Array<BloggerEntry>).map(entry => {
    const id = entry.id.$t;
    const datePublishedOrUpdated = entry.updated.$t || entry.published.$t;
    const tags = entry.category.map(cat => cat.term);
    const title = entry.title.$t;
    const content = entry.summary.$t;
    const author = entry.author.map(a => a.name.$t).join(', ')
    const postLink = entry.link.find(l => l.rel === 'alternate');
    const postUrl = !!postLink ? postLink.href : '';

    /* Line 3 */ return {
      id,
      tags,
      title,
      content,
      author,
      postUrl,
      postedOn: datePublishedOrUpdated
    }
  })
  return { allTags, posts };
}

export default { getAllPosts }
Explanation
At Line 1, we declared a type
BlogEntrywhich refers to entry sent by the blogger's feed.At Line 2, we are using fetch api to retrieve summary feed from blogger(http://codefoundry.dev) and we are transforming and returning it to the type that our reducer store understands (At Line 3).
5. Cleanup App.tsx and BlogPosts.tsx
Earlier, we hard-coded posts(POSTS array) in App.tsx and were passing to BlogPosts component. Let's clean it up.
// App.tsx
function App() {
  return (
    <>
      <div className={styles['App-Container']}>
        <BlogPosts />
      </div>
    </>
  );
}

export default App;
// BlogPosts.tsx
function BlogPosts() {
return (
<div className={styles["blog-container"]}>
<BlogPost/>
<BlogListing/>
</div>
);
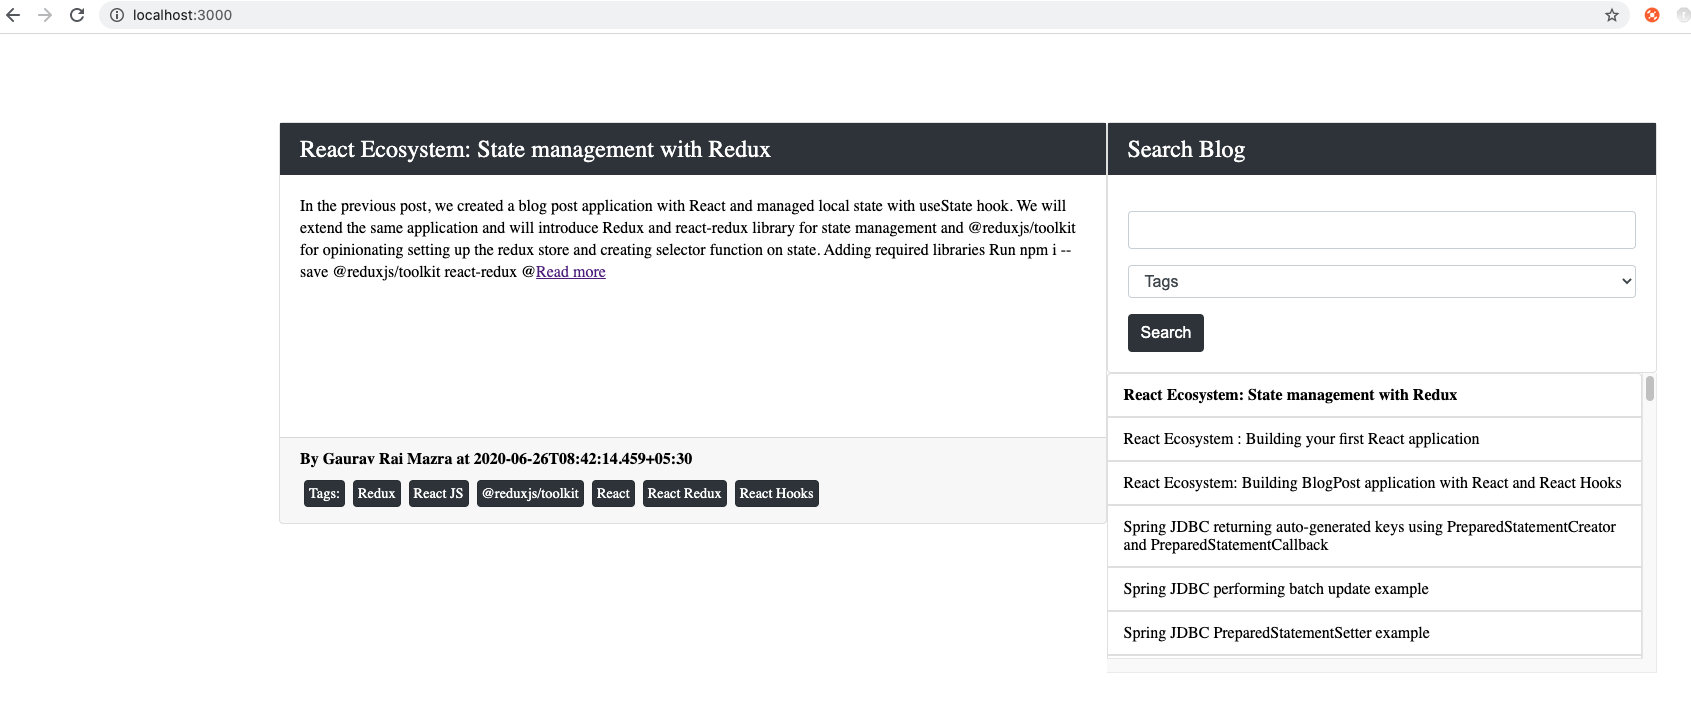
}Let's run the application with command npm run dev.

That's it :). You can download the full example code from Github.
7. Recap
In this post, we first added required set of libraries (next and @types/next). Then, we added scripts to build, run and start project with next.js. Then, we did basic setup for next.js application e.g. Setting up _document.tsx and _app.tsx. Then, we created our first page index.tsx and created getServerSideProps method for server-side rendering. At last, we cleaned up App.tsx and BlogPosts.tsx file and ran the application.
What's next?
- In the next post, we will use Next.js to generate static site along with Dynamic routing in static site. So, stay tuned!
Tags: React, React Hooks, ReactJS, Typescript, Redux, Using @reduxjs/toolkit library, Next.js, Server side rendering with Next.js, Full stack development
← Back home